More Images from this shoot.
The Set Up
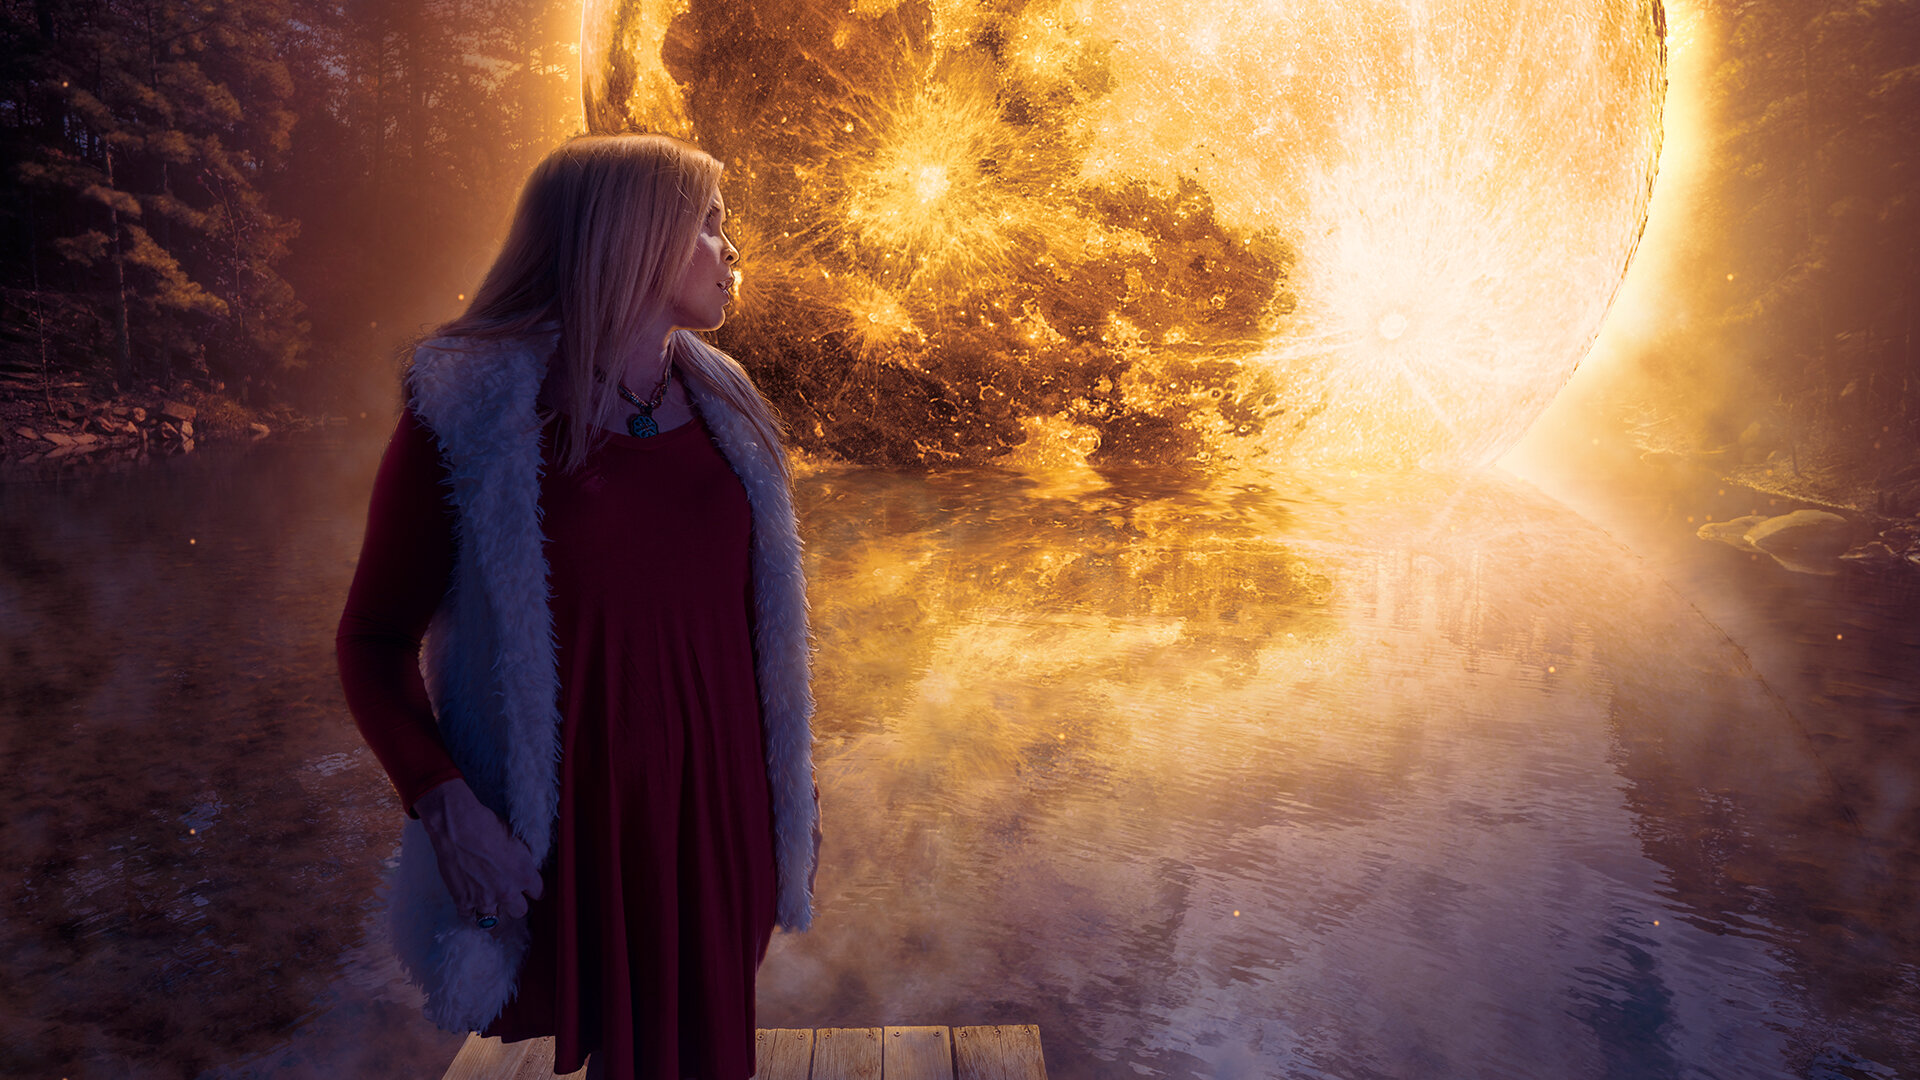
This was a fun project to work on and was a massive exercise in light painting. This composite is actually 2 images smashed together. Obviously the image is the Moon. To get this image I had to set up the phot as a day for night setup. I took the photo on a Sony a7ii with a Sony 50mm lens with an attached polarizer. I used the sun as a backlight and had a 76 inch octagonal wireless 300 watt strobe and softbox to her left for a softer edge light. The photo was taken near the visitors center at Pinnacle mountain state park in Little Rock Arkansas.
The Photoshop
I really try to stress the art of realism in my composites. So for this one I wanted to keep as much of the original image as possible. This means there was going to be a lot of cutting and light painting. When I was creating the image I was thinking I was going to add Cthulhu in the background instead of a moon. After I took it through my raw process The scene just seemed too calm. After some inspiration hunting I settled on making this day photograph into a night scene.
To pull the day for might swap I duplicated the entire image and applied the color LUT Moonlight. This was probably the easiest part of the entire shop job. After I did this I also duplicated this moonlight layer several different times in order to create different background lighting effects and highlights. I ended up also cutting out my model with the same moonlight effect as wells as with no moonlight effect.
With the scene setup it was time to start comping the moon. I set the moon just slightly offset to the right to showcase a little more of the background on the left to showcase the lighting I was going to do. I adjusted the moon color with curves and Hue/Sat then masked out the several duplicates of the moon with a Blendif option. This would allow me to make some unique glows that are not in a linear fashion.
There are 4 different glows going on in this comp. 3 of the glows are behind the moon at varying gaussian blurs to give a nice falloff using a Additive blend as well as one on the front of the moon for a bit of a hazier look. After I got a really nice look for the moon I duplicated the entire folder and flipped it for the mirror image on the lake water.
Since this layer was a duplicate not a lot needed to be done. The only thing I added to this folder was a ripple layer that added some slight ripples to the original image giving the look of a slight movement. I also added some smear to the layer just to give some randomness to the look. It is very important to give a bit of randomness to an image in order to upgrade the realism effect. So with realism on the mind lets talk about the re light.
Since I duplicated this image multiple times with the moonlight lighting effects i needed to add the orange glows to the trees and water. To do this i took one of the layer and upped the curves to a very high level with adding a lot of yellow and red. Since the image was mostly blue due to the LUT I applied the yellows and reds added some very interesting shadow effects that I would use in underlying layers. I hand painted all of the trees and rock with a soft brush around the edges at around 18 flow for a harsh edge then used a duplicate layer with a soft brush at 2 flow to add the light fall off. I also did the same of the model. I added a ton of highlight to her hair using the same technique as wells as on her vest.
After everything was finished im used an adjustment layer with a color LUT to glue it all together.
In The End
Even though the image started out as a daylight photo I believe I was able to achieve a fairly good look turning the day into night. Realistic light is always the key to a good composition and that is why I always try to use the available light to play with adding light. I would put a link to the models page but she currently does not have one setup and do not believe in posting to someone personal social media account.